Spindle Maintenance: How to Test a CNC Spindle’s Performance
- Testing Speed
- Testing for Runout
- Testing Drawbar Force
- Testing Spindle Vibration
- Testing Temperature
- Testing the Spindle Motor
- Testing Solenoid
- Always Test in a Clean Environment
- Get Help From a Professional
- Restore Underperforming Spindles
You can’t always see the spindle, but it’s the heart of the machine. Without the spindle, the machine becomes inoperable.
Because the spindle is out of sight, some operators will run the machine without considering the possibility of failure. To prevent machine failure and costly repairs, you must properly maintain your spindle.
One of the key aspects of spindle maintenance is routine inspection and testing. Spindle performance testing should be conducted every three to six months or once a year at the very least.
This article will cover some of the most important tests, the equipment needed to perform them, and how each testing process works.
Testing Speed
You won’t get the best results with a CNC machine unless the spindle is moving at the right speed. If it’s too slow, you’re not getting the performance that you need. but when the speed is too fast, you risk unnecessary wear and tear, potentially shortening your spindle’s life.
Most CNC units don’t include a spindle tachometer. When that’s the case, the operator can only guess the speed. Even if your machine displays RPMs, it’s a good idea to use an external tachometer to double-check it.
All you need to do is place the tip of the tachometer on the object being rotated on your CNC machine. The digital sensor in the tachometer will display the correct RPM.
Testing for Runout

Spindle runout occurs when the spindle fails to rotate on its intended axis. This can cause tool chatter and shorten tool life. It also compromises tolerance control and can produce part defects.
You can measure circular runout, which is runout at specific cross-sections, and total runout along an entire cylinder.
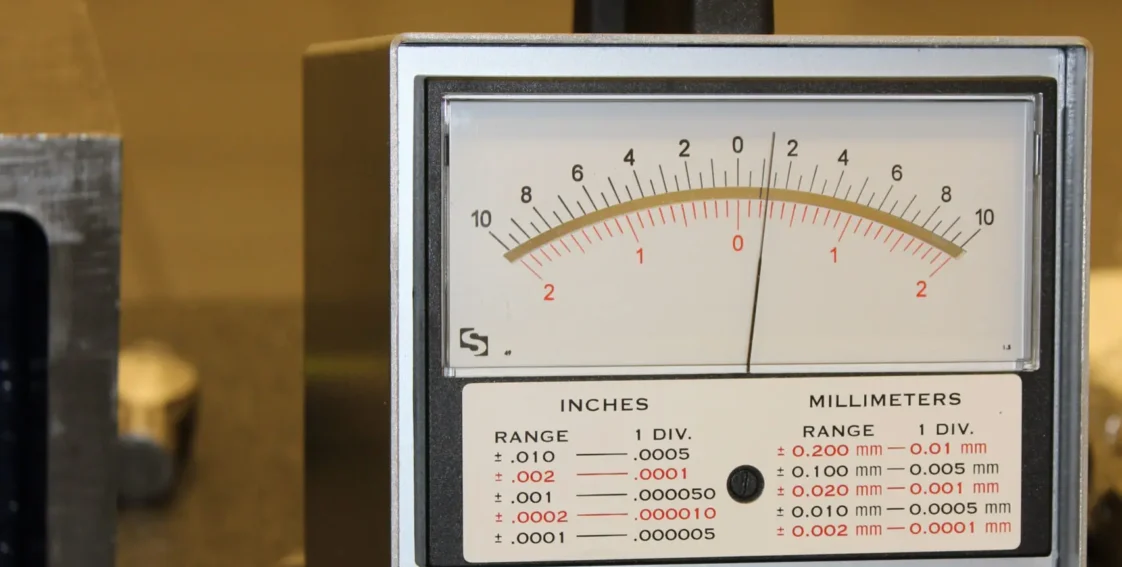
Runout testing can be done either when the tool is running or at rest. Static tests are easier, but dynamic tests provide more accurate measurements. Testing can be performed with a dial test indicator or a non-contact sensor.
If you’re using a dial test indicator, please note that the spindle cannot be in operation, as you’ll need to come into close contact with the spindle. First, place the point of the indicator on the spindle’s shaft. Then, turn the shaft slowly to find the highest or lowest point. Once you reach the highest or lowest point, set the dial indicator to zero. Once you turn the shaft again, you should see your reading on the indicator.
If using a non-contact displacement sensor, you can test for runout with the machine in or out of operation. As the name suggests, these sensors don’t come into complete contact with your spindle. They utilize laser triangulation sensors to track displacements in real time. All you have to do is mount the sensor’s probe at a distance and rotate the shaft.
Testing Drawbar Force

The correct drawbar force, or tension force, ensures that the interface between the spindle and the tool is as rigid as needed. A loose interface can cause tool chatter and unnecessary tool wear, and it can also compromise the part that’s being machined, particularly the finish.
Drawbar force is tested with a clamp force gauge. The gauge can be hydraulic without batteries, cables, and electronics. If you place the gauge and taper adapter into the spindle taper, you can check whether the drawbar force meets spec in less than a minute.
Testing Spindle Vibration
Machinery in operation sends out vibration signals at different frequencies and with different amplitudes. Excess vibrations, either overall or at a specific frequency, can cause machine wear and defective parts.
Spindle vibration is generally measured with a ceramic piezoelectric sensor or accelerometer, which converts acceleration to voltage. The type of tool you’ll need depends on what type of vibration you’re testing for (rotational, lateral, or transverse), the type of sensor range you need, and mounting options on the equipment you’ll be testing.
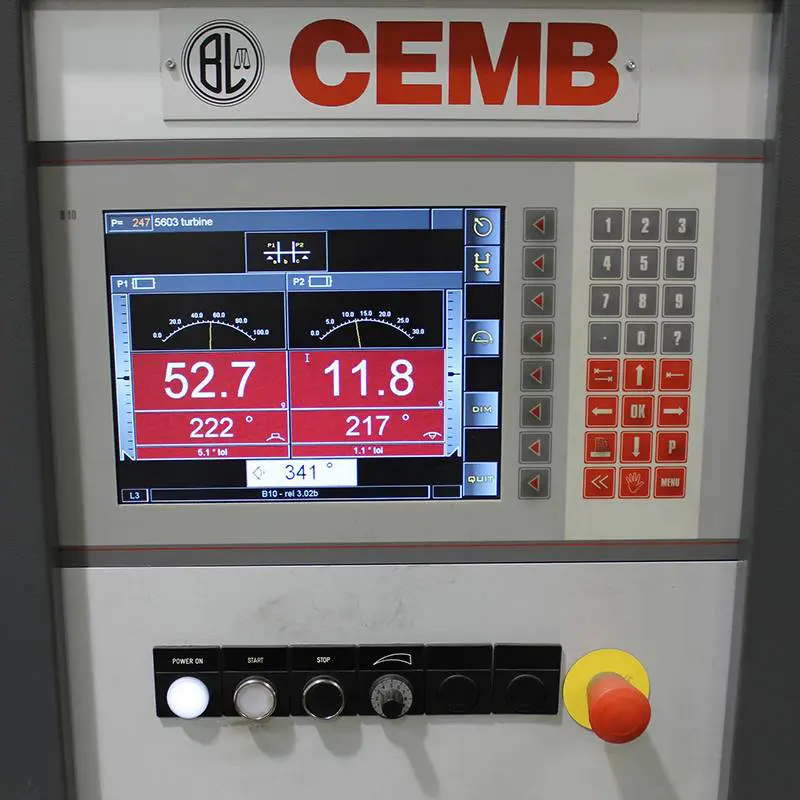
To use an accelerometer, all you need to do is mount it to your machine. Again, there are many types of accelerometers, so you’ll need to choose one that can be easily mounted to your machine. As the machine runs, the accelerometer generates an electric charge and delivers the output to a vibration analyzer. The analyzer then produces a graphical representation of the vibration spectrum; this shows whether or not there is a defect frequency and, if so, how severe the defect is.
Testing Temperature
Spindles get hot during operation, but it’s essential that it doesn’t overheat. Unchecked temperature can damage or even destroy the CNC machine. Thermal errors also commonly lead to part defects. That’s why you need to continually monitor the spindle’s temperature.
If the machine doesn’t have a built-in temperature sensor, the measurement can be done by installing an external sensor, like an FBG sensor.
Testing the Spindle Motor
Spindle motors can fail due to excessive vibrations, VFD faults, and issues such as opens or shorts in the windings. Many times, it’s not easy to remove the motor and inspect the conditions of the windings. However, you can use a multimeter to check for issues with the spindle motor.
You can check for short to ground by disconnecting the motor from its power source and measuring resistance at each wire, including the ground wire. You can also check for opens and shorts by checking wire-to-wire resistance. A reading of zero indicates a short, and a reading over 2 Ohms usually indicates an open.
Testing Solenoid
A solenoid is an electromagnetic coil that converts electricity into movement. In a spindle, solenoids operate the valves that control airflow. If air isn’t flowing properly, coolant mist can build up and corrode connections. This is a major cause of spindle failure.
Solenoid operation can be tested by pulling out the exhaust outlet hose and pressing the manual override button. An unclogged purge of clean air should be exhausted with each button depression.
Testing Tip #1: Always Test in a Clean Environment

A clean environment is critical to conducting accurate testing. Floor vibration, acoustical noise, and electrical noise can all affect measurements. However, contaminants in the testing room can be a more significant issue. When these kinds of influences are present, you can never be sure whether the issue is within the spindle itself or driven by environmental factors.
Many factors can influence error motion, and a clean environment ensures that test outcomes are due to causes within the CNC machine and nothing else.
Testing Tip #2: Get Help From a Professional
Don’t try to save money by conducting spindle tests yourself. The truth is that most of the time, you’ll wind up wasting your time and money.
Professionals already have the most up-to-date testing equipment, so you don’t have to worry about purchasing and maintaining more equipment. Furthermore, technicians who do this testing regularly can listen to the problems a manufacturer describes and determine which testing is most critical to repair.
Repair professionals will also have specially designed test stands for various spindles. These test stands can perform multiple tests simultaneously for quicker and more accurate results.
Restore Underperforming Spindles With Help From Superior Spindle

Do you need help testing your spindle? Let our team at Superior Spindle help you. We provide a wide range of spindle services to manufacturers in all industries throughout North America.
Our complete line of services includes emergency and standard spindle repairs, spindle testing, complete rebuilds, retrofitting, spindle taper grinding, and spindle balancing (to ISO 21940-11:2016 specifications).
As an ISO-certified business, we’re also committed to quality. Whether we’re repairing or rebuilding a spindle, we clean, inspect, and thoroughly analyze it for vibration, runout, pull force, air purge flow, and more, and we complete all tests and services in our HEPA Class 10,000 cleanroom.
Contact us today to learn more about our services and capabilities or to request a spindle evaluation.
